
The WI-1 House: Staging Pics
As a reminder, here are some BEFORE pictures of The WI-1 House.
And here are some STAGING pictures:
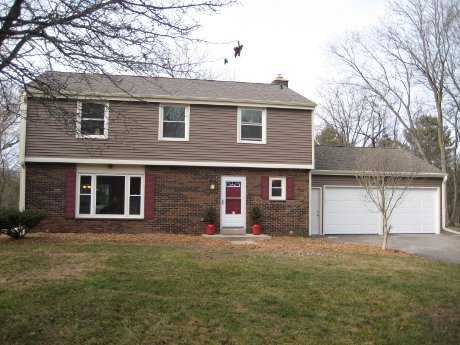
Front of House
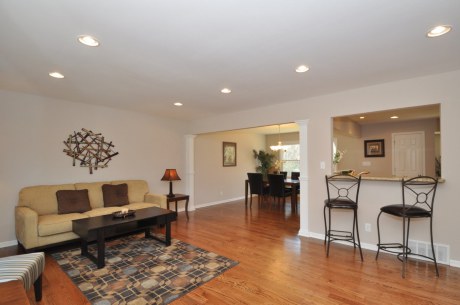
From Front Door Into Living Room

From Living Room to Kitchen

From Dining Room to Living Room

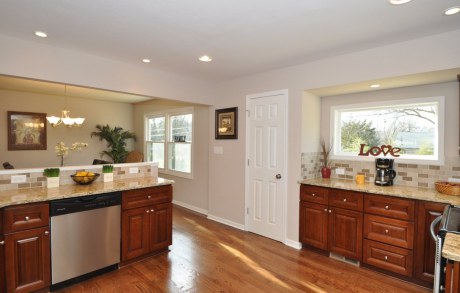
Dining Room Into Kitchen

Kitchen to Dining Room
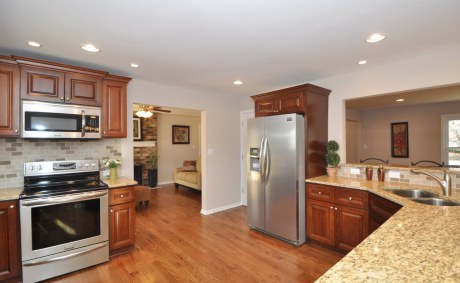
More Kitchen

More Kitchen (Into Family Room)
More Kitchen (Into Family Room & Living Room)

Family Room

Steps Leading Upstairs

Master Bedroom
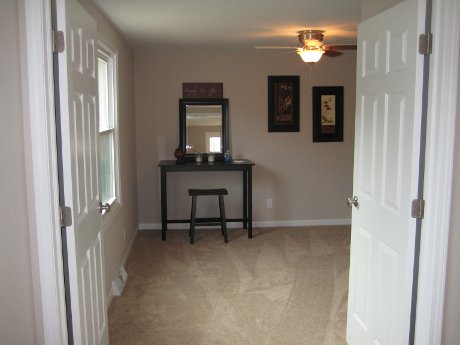
Sitting Room Attached to Master Bedroom
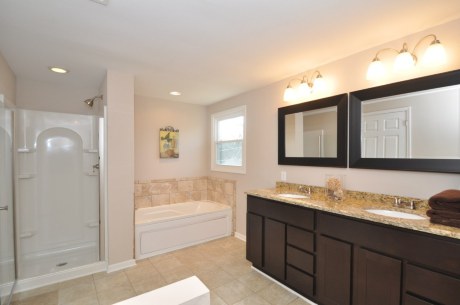
Master Bathroom

2nd Bedroom
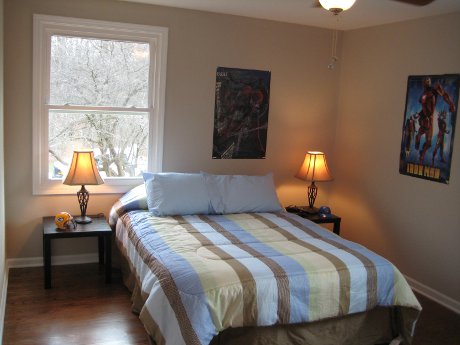
3rd Bedroom

Main Bathroom
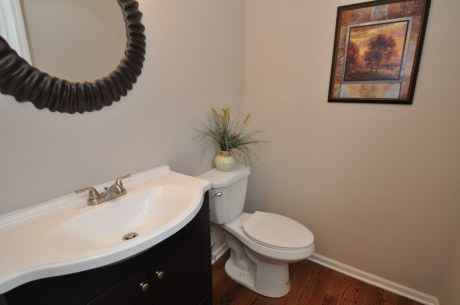
Half-Bathroom on First Level
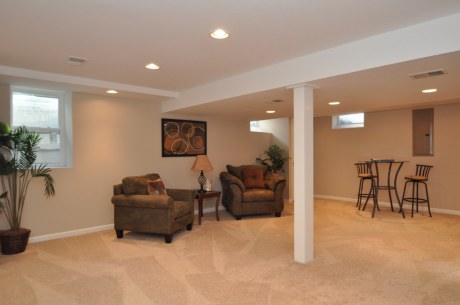
Basement
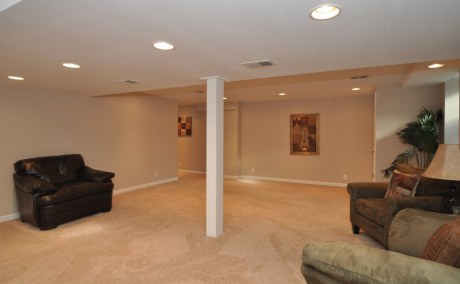
More Basement
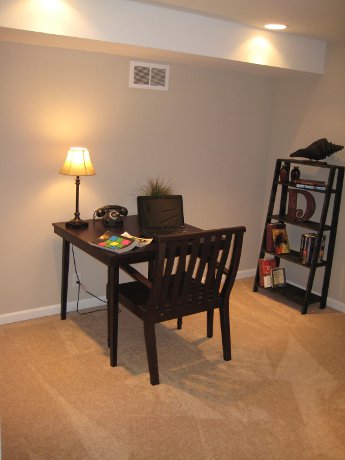
Office/Side-Room in Basement

Backyard


Wow! The transformation is amazing! Great work.
Wow! Absolutely stunning transformation!
Hi J. House looks great. How much hardwood is upstairs? I see that 2 of the bedrooms have hardwoods. What was the rational going hardwood in the bedrooms? I prefer no carpeting, but it’s an expense. Is it customary in that area and that price range to see less carpeting in the bedrooms?
Hey Kristine –
Three of the four bedrooms upstairs had original hardwood (the master bedroom did not — it was probably torn out at some point). We put carpet in the master and also put carpet in the fourth bedroom that became the sitting room off the master (so it would match the master flooring). The other two bedrooms had original hardwood, and our hardwood guy refinished those for very cheap since we put 1000 sf of hardwoods on the main level. I would have put carpet in all the bedrooms had the original hardwood not been there, but it was actually cheaper to refinish the wood, and nicer, so we stuck with that for those two bedrooms.
I see you’re adding lots of recessed lights now. I’ve never seen you guys do that before. It looks good.
Hey Mark,
This house had lots of relatively low ceilings (especially in the basement), so there weren’t too many options. Ultimately, I love the look, and I’m glad we did it…though it did add about $1000 to the budget all-said-and-done (about $75/can).
Jay, I see that the trim around walls, doors and windows is white. Did you repaint the old one or install a new trim ?
Hi Tarun,
We thought long and hard about whether to keep the old trim or replace it all, and ultimately we decided to replace it all. The reasoning is that much of the existing trim was in bad shape, so it would have cost almost as much to repair it and get it looking good again as it did to just replace it all. Also, trim in older houses can be difficult to match, and if you don’t replace it all, you can end up having a hodge-podge of different looking trim throughout the house.